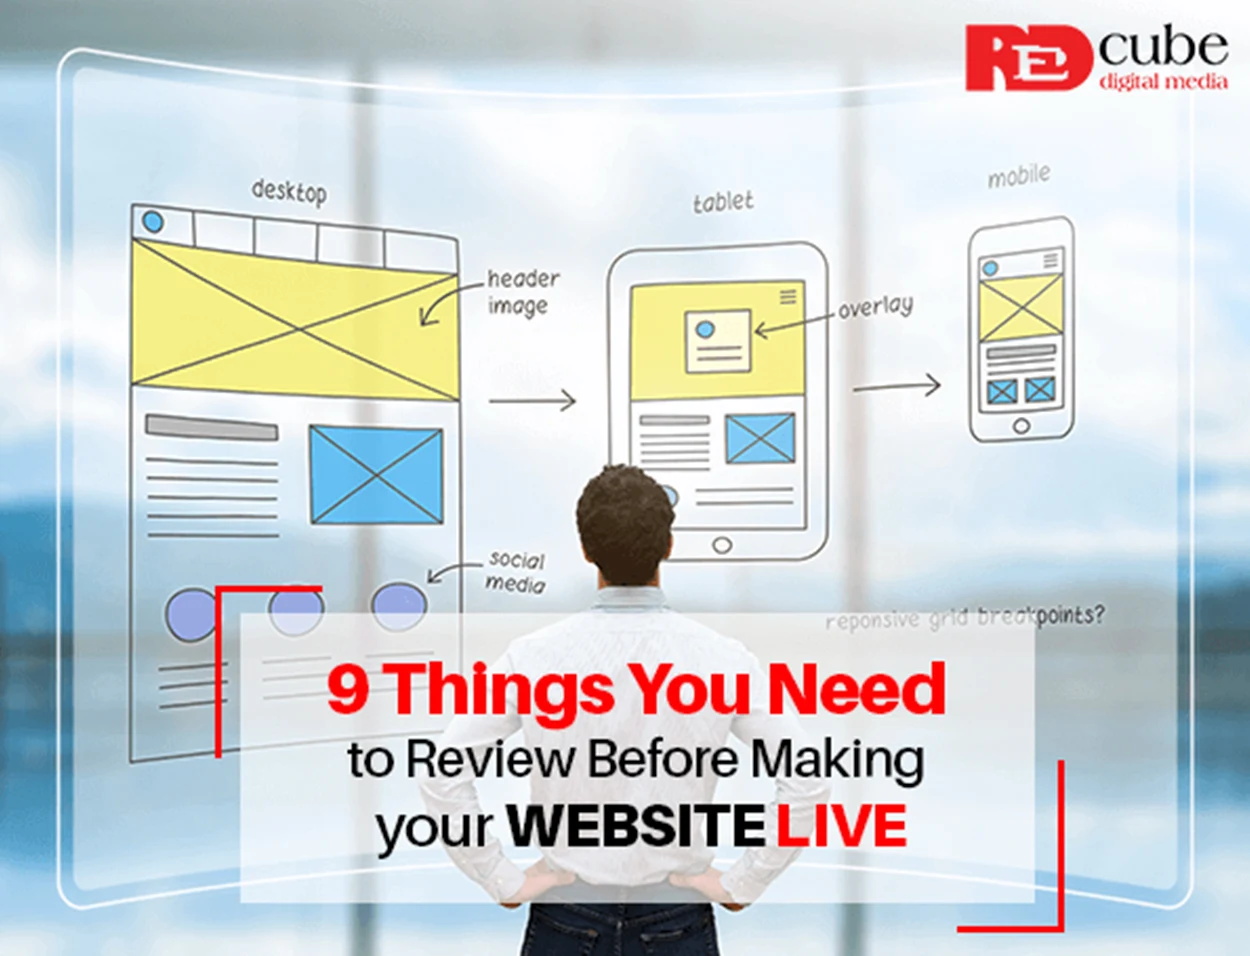
Launching a website can be exciting and at the same time intimidating for many. Whether you’re creating a brand-new website for yourself or for your client, you always want it to be perfect. Before launching any website, there are a lot of things we have to keep our eye on. A proper strategy and the more attention you pay to every little detail, the better for the website.
To help make your website launch a success, we created this practical website launch checklist, where we’ll cover everything from proofreading to site usability and performance. You may find some of these tips a little basic, but that’s totally fine, as we want to make sure that you don’t miss out on any small, yet important aspect of your website accidentally.
To be sure you’ve got everything right before the launch of the website, just run through this checklist, and Boom! Turn your website launch into a success.
1. List out action items, roles & content
It generally takes a lot of people to begin a website, which often includes content writers, designers, back-end developers, and front end developers also. To make sure the whole team is working in sync and there’s no role confusion, you’ll have to design a comprehensive plan for what each team or person is accountable for.
To make a smooth flow of things, create a project managing checklist for the website, where you have to think about what content is needed to be written and what calls-to-action need to be created on the website? Then assign each role of action to a person or a team. You can also try the RACI matrix, to create a responsibility assignment matrix, if your team is large. The tool will help everyone in the team understand which person is responsible for completing which task and role, and who needs to be consulted once a final decision has been made.
2. Set up a staging site
A clone of your live website on a private server that is used for testing changes before making the website live is a staging site. It helps you catch inaccuracy and errors, so you don’t end up in disappointment. You can edit and change around with updates in a place that is identical to the one that will be live. A staging site will also allow you to make a change, without worrying about crashing or screwing something up on your live website.
Later, you can sync the changed content between the staging site and your live website via your content management system (CMS).
3. Test Site Speed
The time your site takes to load each web page is the site speed of your website. It is very important to have an excellent speed of the site as it influences search engine ranking, user experience, and even conversion rates. There are various speed tester sites like Google PageSpeed Insights, which shows a wider picture of your website’s load speed.
4. Double-Check Your Images
One of the factors that determines the page load time, is the size of images available on the website. So before launching your website always check that all the images present on the site should be perfectly optimized in terms of quality and size. Images should be compressed properly for the web and have alt text, as that’s how search engines will be able to discover and index your images accordingly.
5. Check whether your Content is optimized for SEO or Not
If the content of your website is not SEO optimized, it is of no use. Content optimization allows people to see your content or website on top or on the first page of Google, when they search for something online. Though all the content on your website should be SEO optimized, there are some important elements like titles, headings Meta descriptions, and body content, image titles and alt text, and URLs also matters.
6. Ensure Your Website is Mobile Responsive
Google’s algorithm loves mobile-friendly websites and ignores the websites that aren’t mobile-friendly.
Mobile responsiveness is the most important factor these days, as more than 81% of internet users use a mobile phone to search for anything. Corporations and businesses that have mobile responsive websites generate more traffic and maintain a competitive advantage over businesses that don’t.
7. Ensure your website is secure with an SSL certificate
An SSL certificate ensures your website is encrypted and safe from hackers as SSL certificate guarantees they can’t intercept any of your data. It allows your visitors to look at your website as a safe platform and ensures that no one can seize or capture their personal information and other data. The best part is that it’ll also improve your website’s SEO as it is now part of Google’s search ranking algorithm.
If your website is not secure and does not include an SSL certificate, then purchase, set up, and installs a new SSL. This can take up to several days to kick into gear, so be prepared prior to the launch date.
8. Ensure your XML Sitemap is configured properly
A text file that resides on the server and contains all the related Links that are in the context of your website is the XML sitemap. This is important to customize the website for searching, as it lets search engine web crawlers assess the layout of the site so that they can navigate it more smartly. Basically, it acts as a roadmap to tell search engines what content is available on a particular website and how to reach it.
9. Set up filters to exclude traffic from the IP(s) of your office
When any member of your team will visit your website, it will be counted in your analytics data. Counting an IP address, again and again, can miscalculate the number of visitors on your website and will disturb your analytics data. So, it becomes important to exclude your own traffic from your website analytics. You can find your IP address by typing “what is my IP” into Google and then can create a filter by excluding the particular IP addresses from the settings on the website.
If you hire a digital marketing agency, you’re going to get a team of experts who work for you every month so you don’t have to worry about getting your own team together.